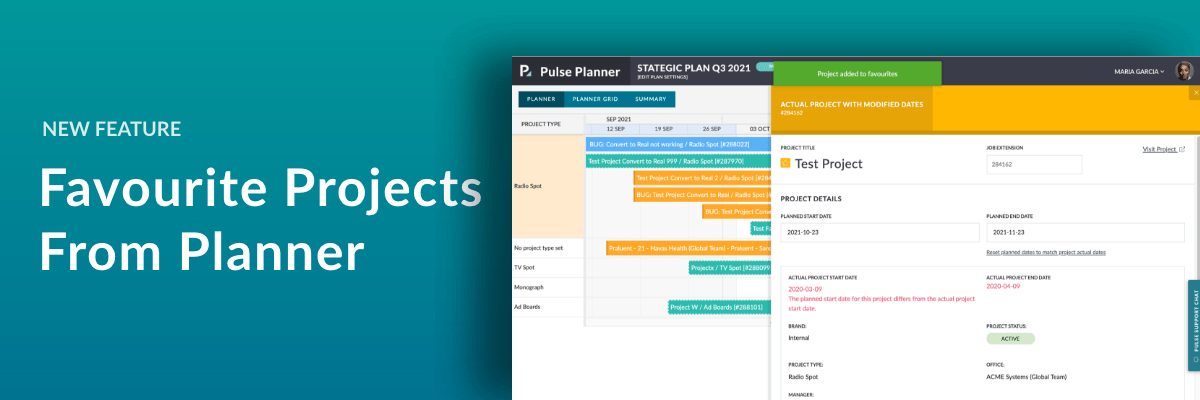
You can now add a Project to your favourites directly from the Pulse Planner flyout. The way you add Projects to favourites in the planner is the same as from within a Project.
Adding and Removing a Project from your Favourites in the Planner
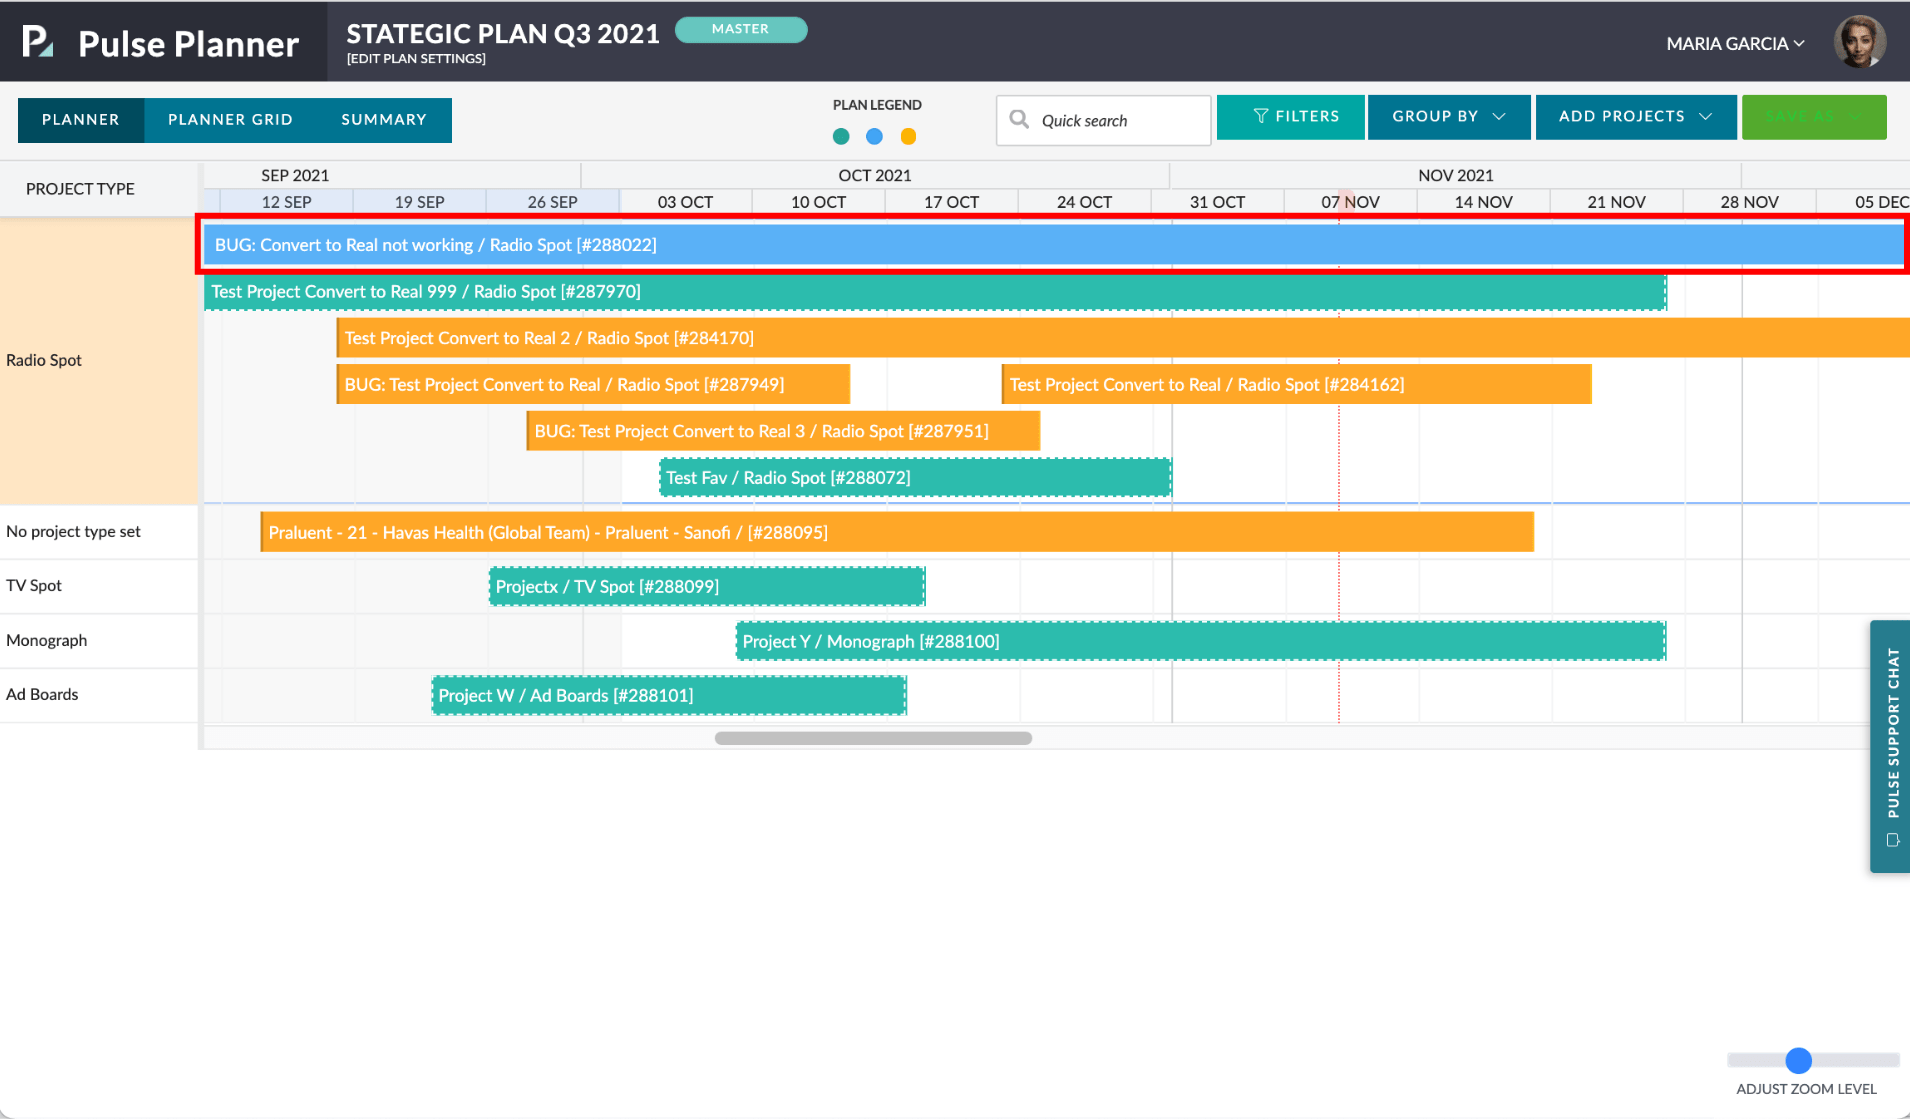
Go to the Planner and double-click on a Project.
Real Projects can be identified by their blue colour if they have their dates unmodified by the Plan.
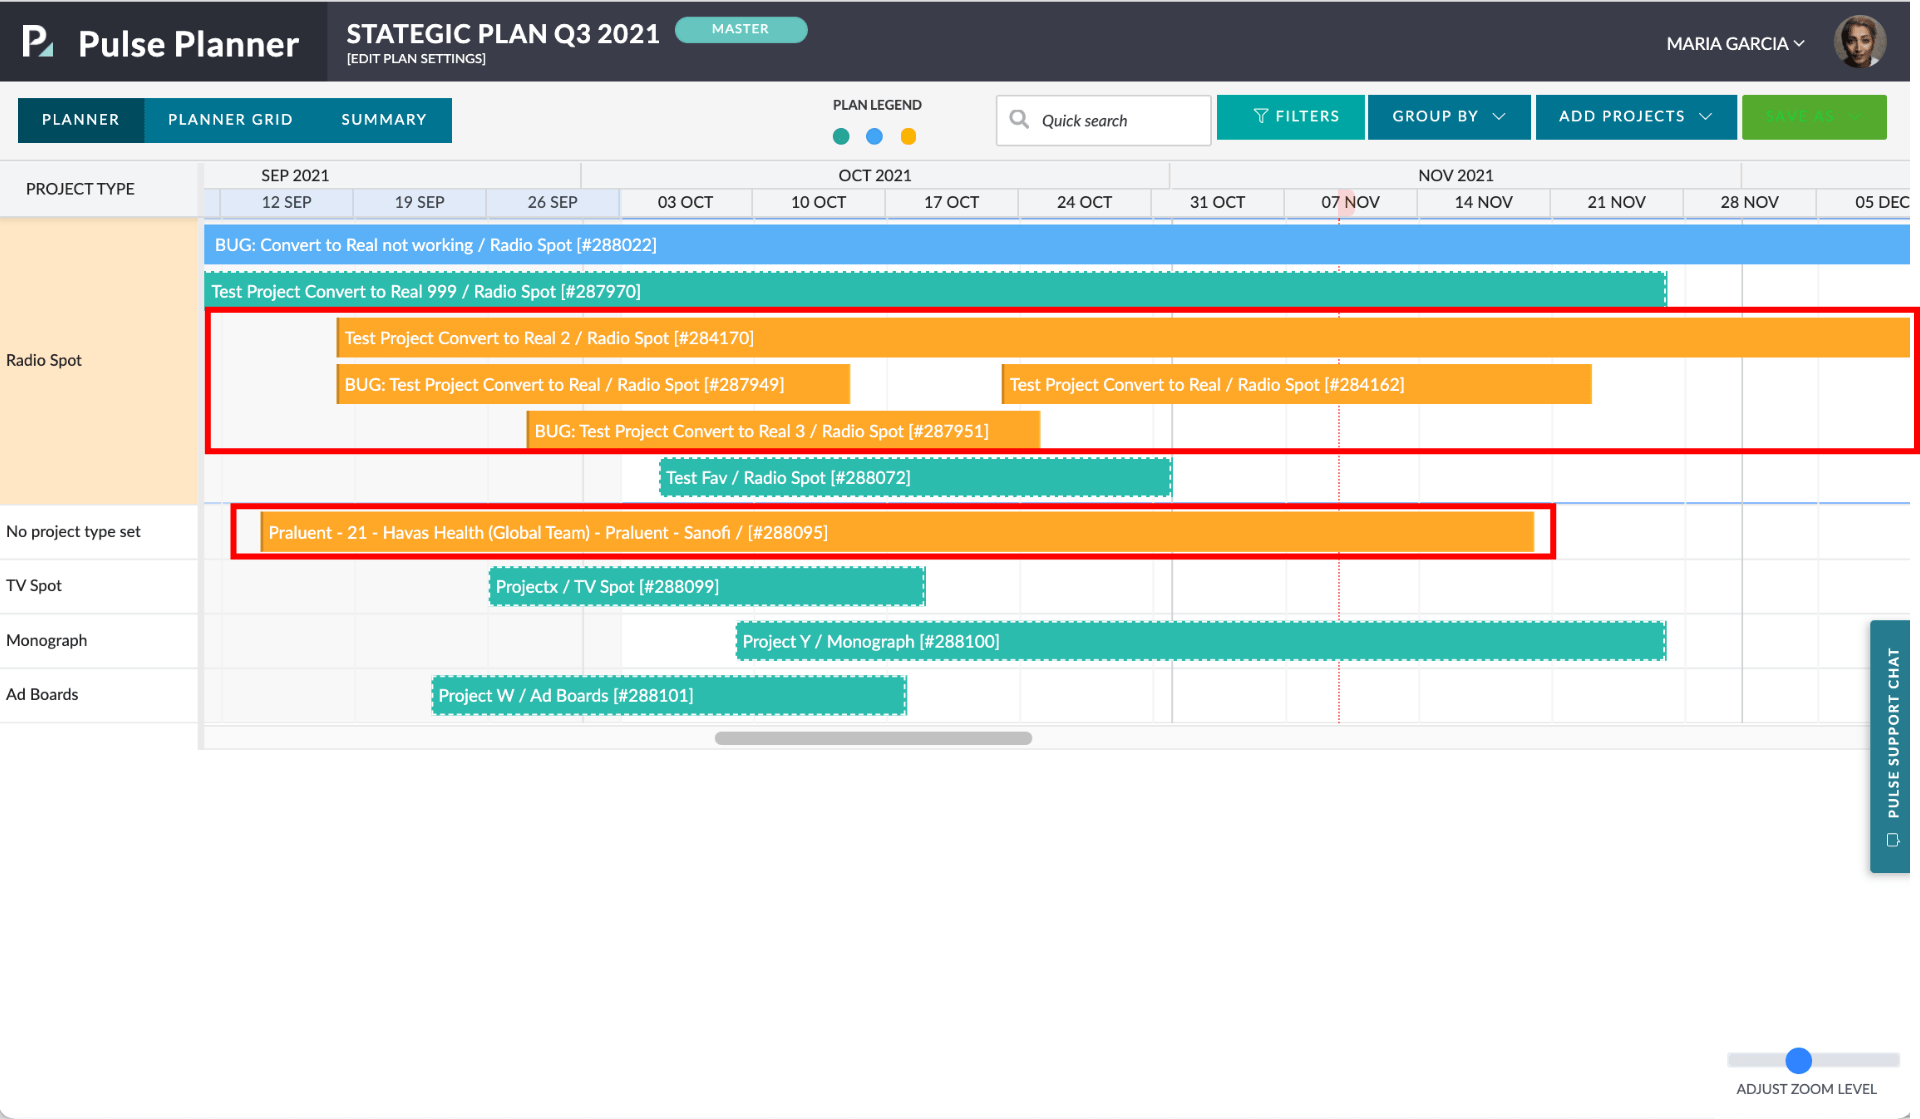
Real Projects that have modified dates can be identified by their orange colour.
Locate the “star” icon next to the Project title in the Project pop-over
When you hover over the star you will see the tooltip “Add to Favourites”.
Click on the “star” icon
The start icon will turn an orange/yellow colour and you will receive a green success message that says “Project added to favourites”.
Click on the “star” icon to remove a favourite from the Planner
The start icon will return to the unselected state, and you will receive a green success message that says “Project removed from favourites”.