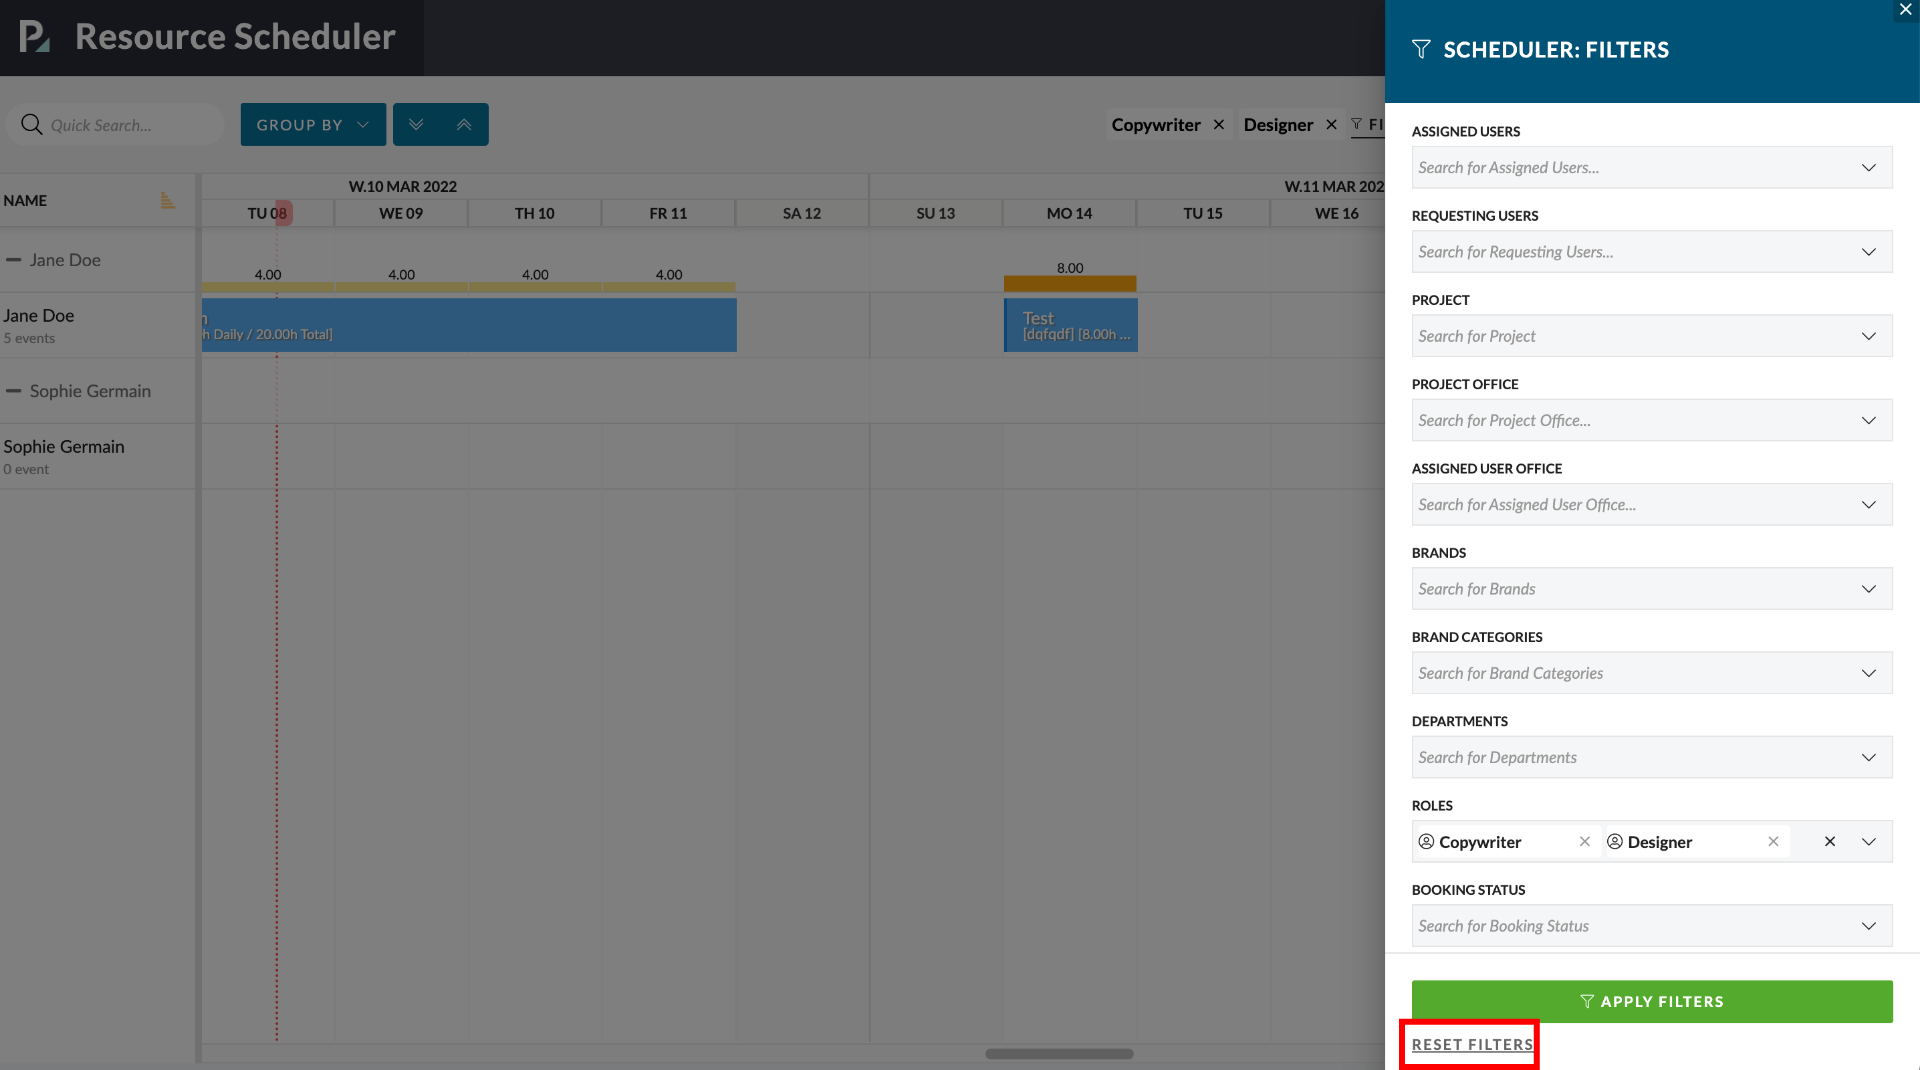
To filter the contents of the schedule click the ‘Filters’ button in the top right of the schedule header.
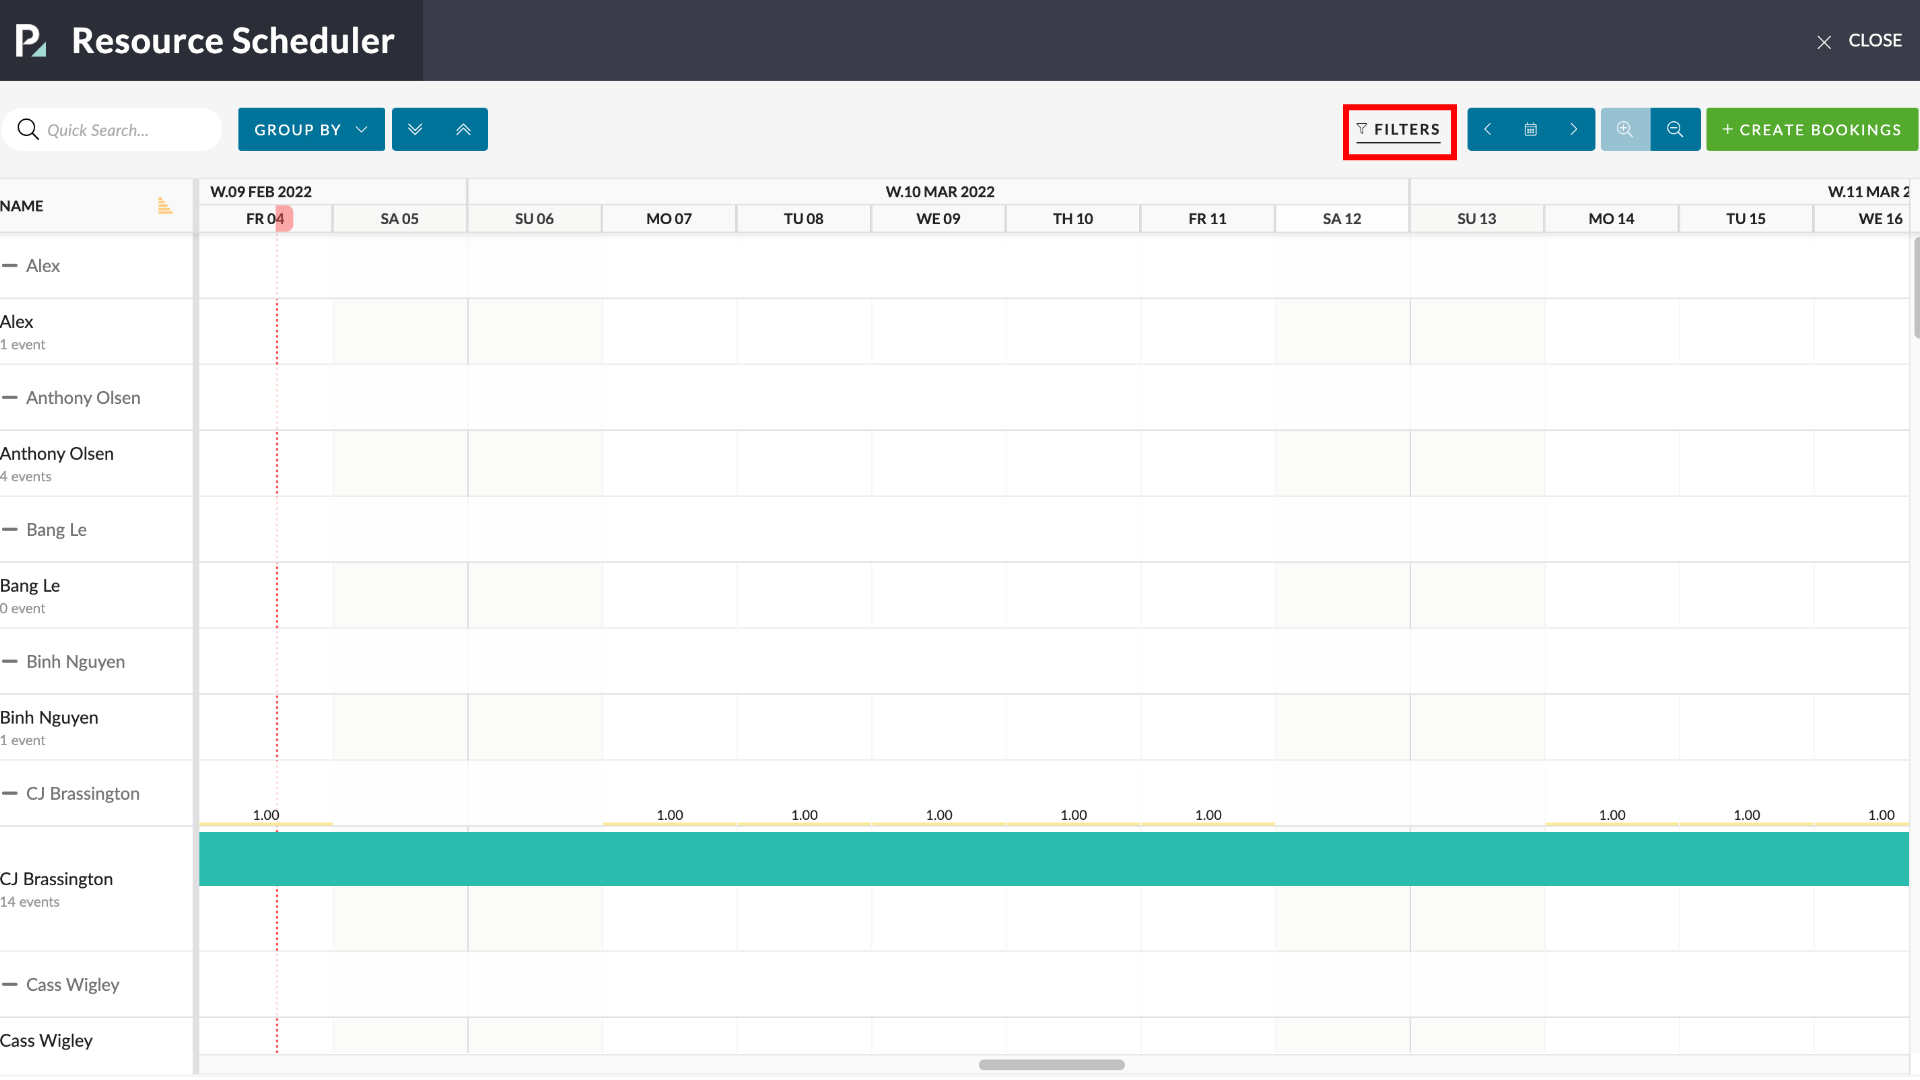
This will launch the “Scheduler: Filters” flyout panel.
You can filter the contents of the schedule by
- Assigned Users
- Requesting Users
- Projects
- Project Offices
- Assigned User Office
- Brands
- Brand categories
- Roles
- Departments
- Booking Statuses
- PTO Bookings
Filtered Views of the Scheduler
Each time you assign a term to filter by you will add a new term next to the filters button. This alerts you to the terms you are filtering by when you have the Filter Panel closed.
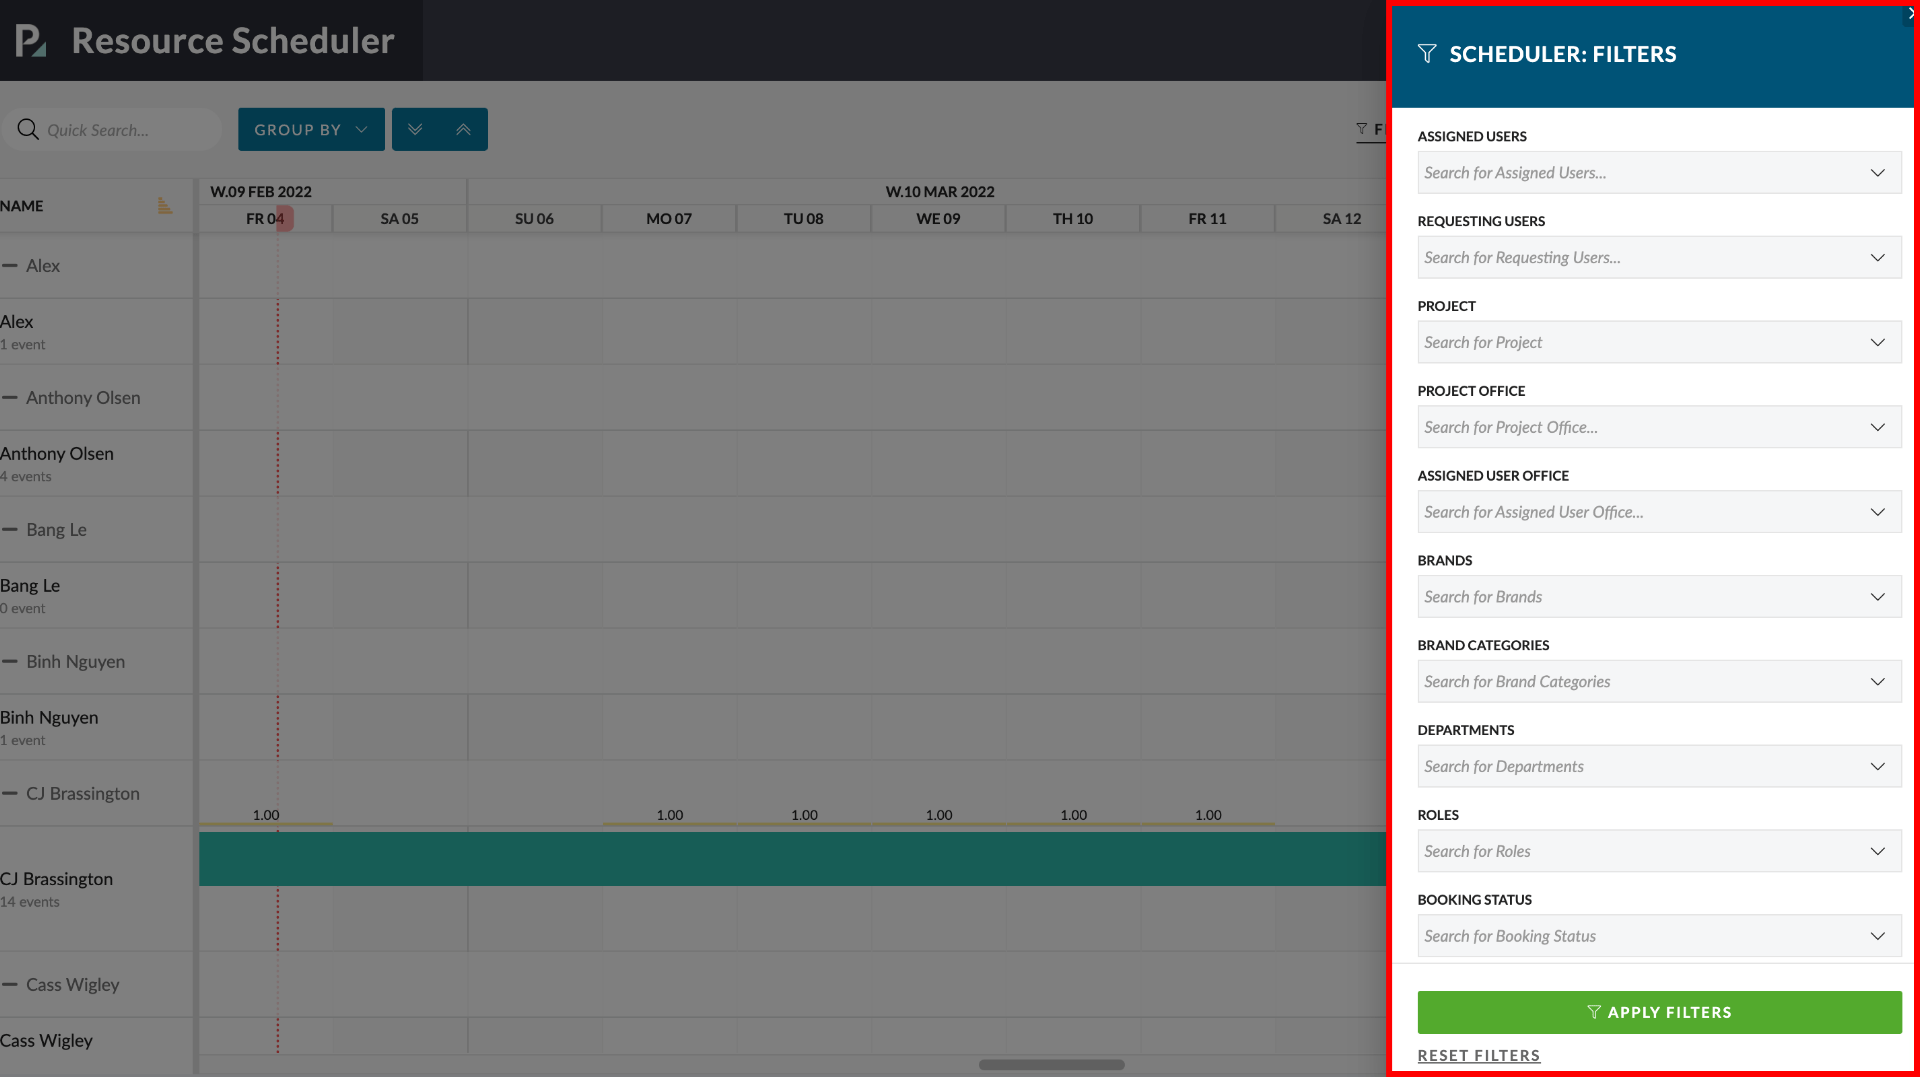
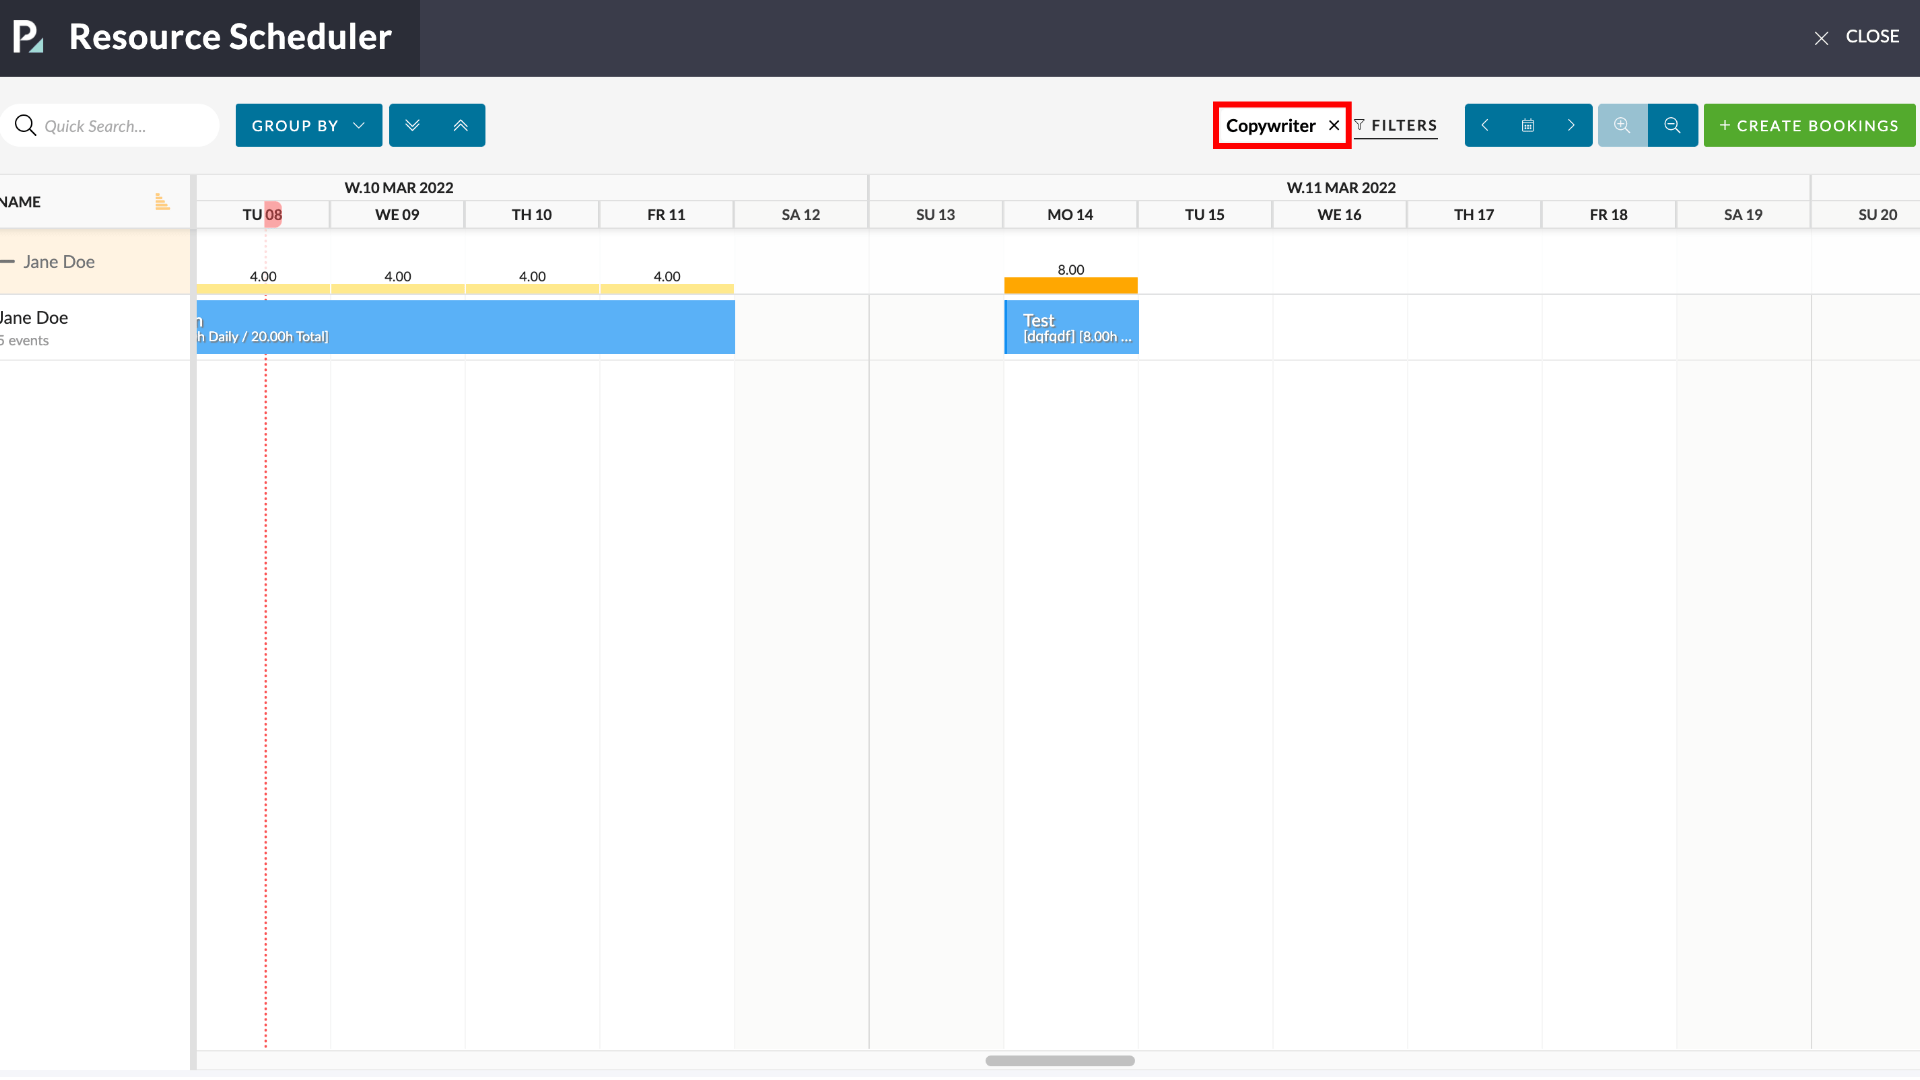
For example, if you wanted to see the availability of Copywriters, you could Filter the schedule by “Roles” and select “Copywriter”.
When you apply the filter and close the Filter Panel the list of Users will be filtered to only show users with the role description “Copywriter” and you will see the term next to the filter button.
Applying Multiple Filters
You can apply multiple Filters at once – either on the same Objects or Across Object.
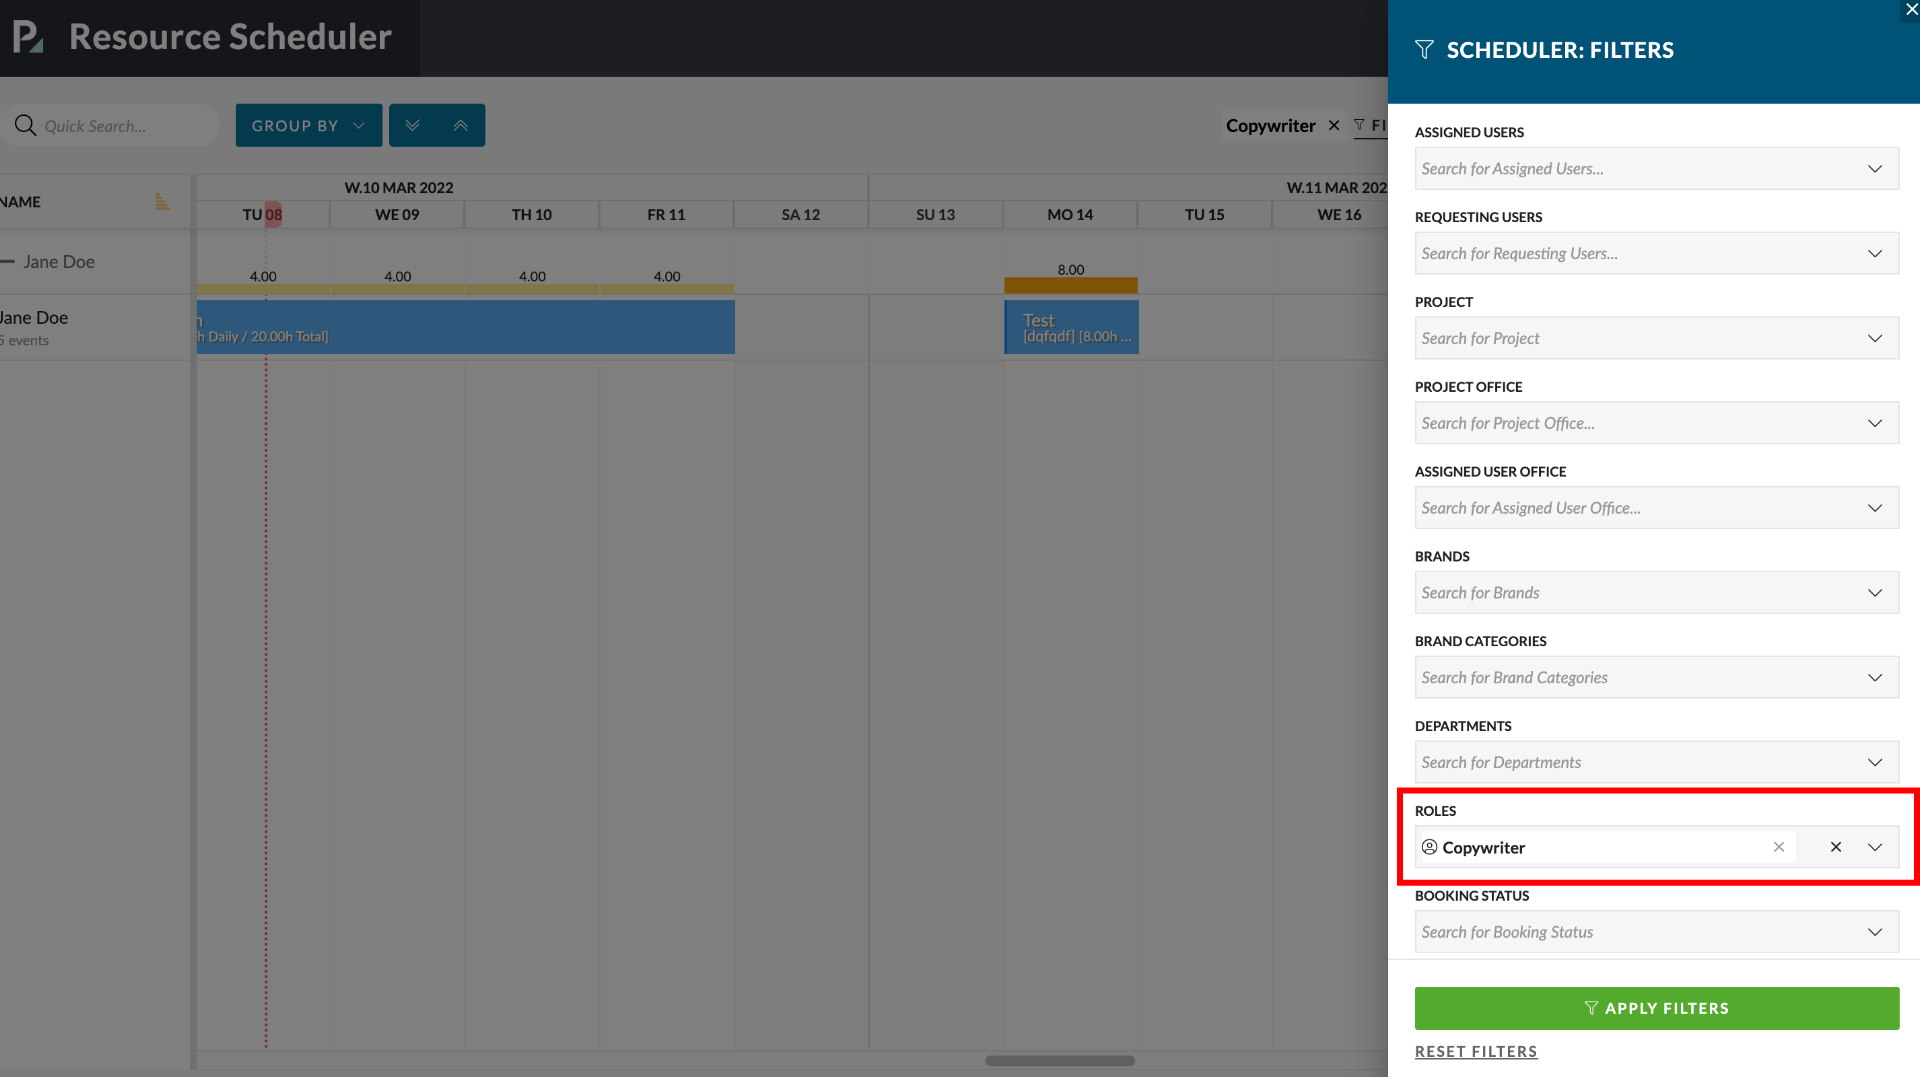
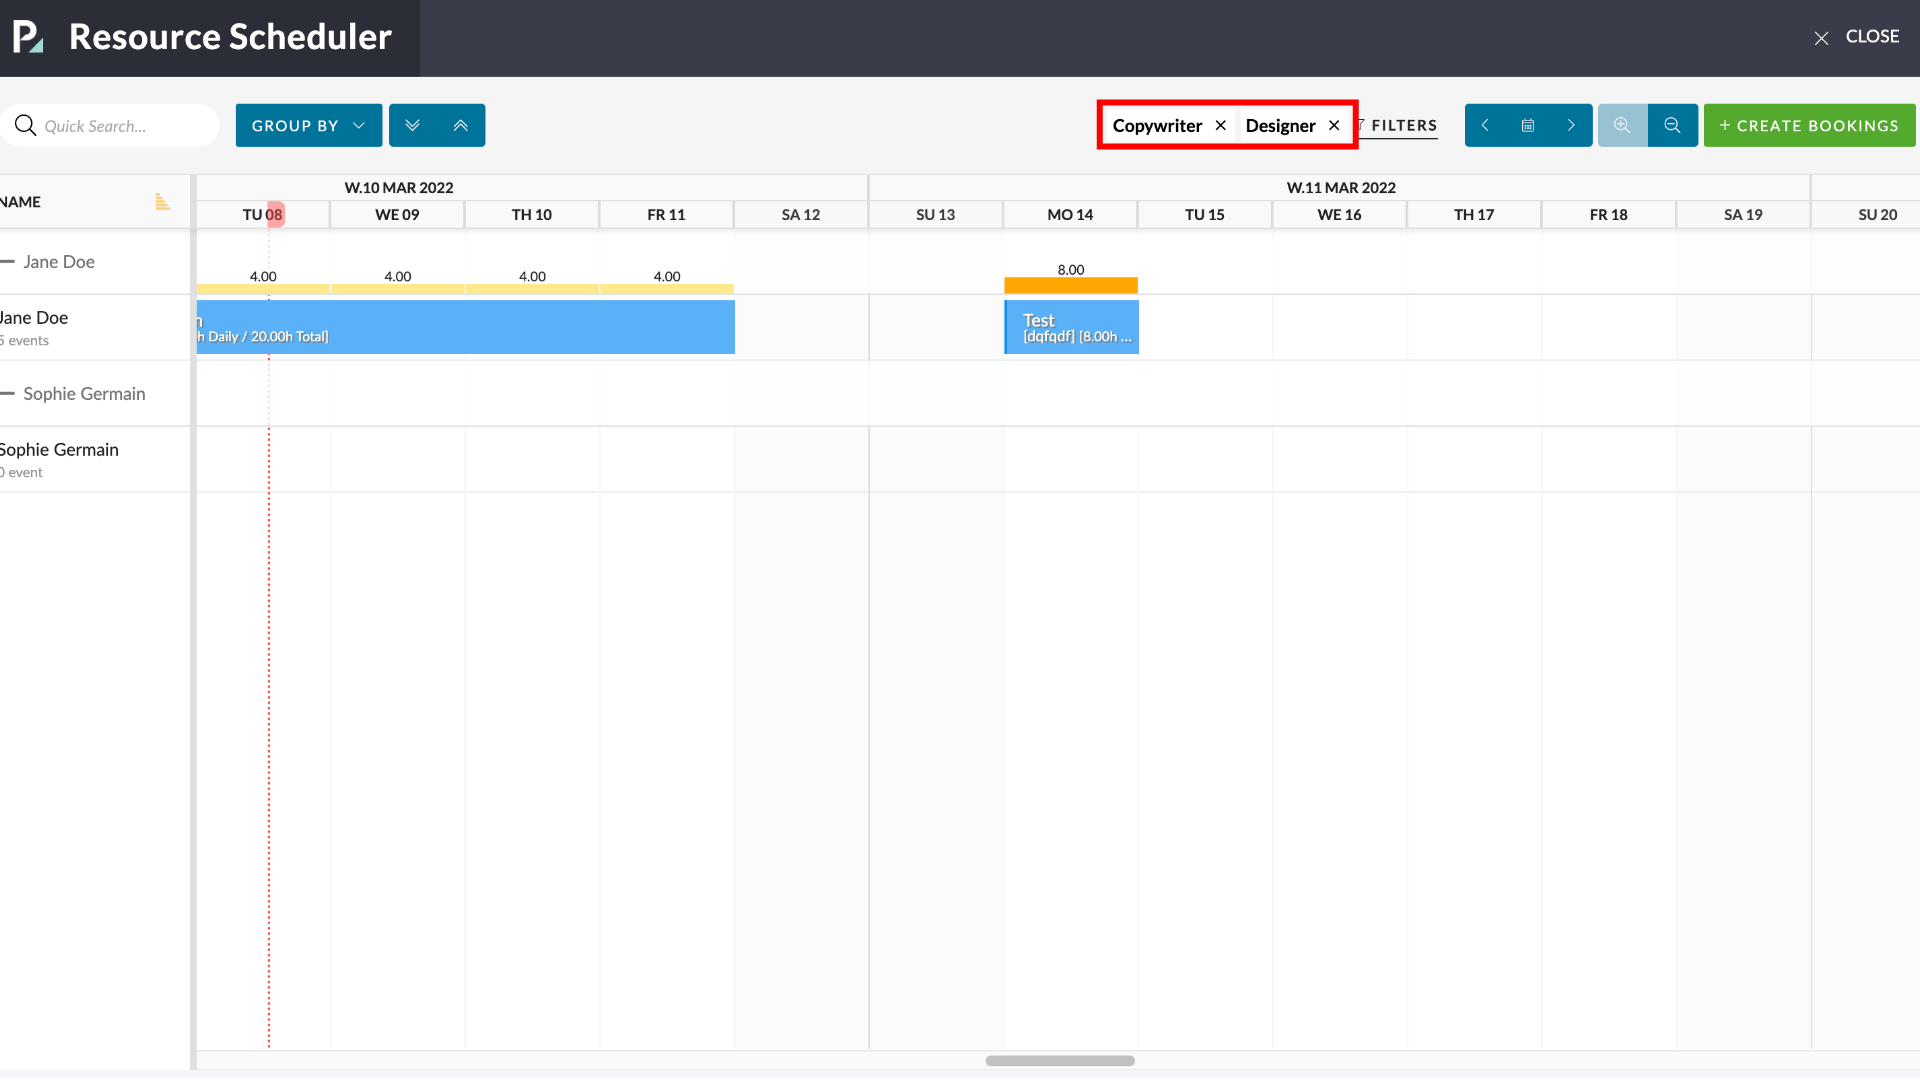
For example, you could search for Resources with the Role of either “Copywriter” or “Designer”. Each term is listed next to the FIlter button.
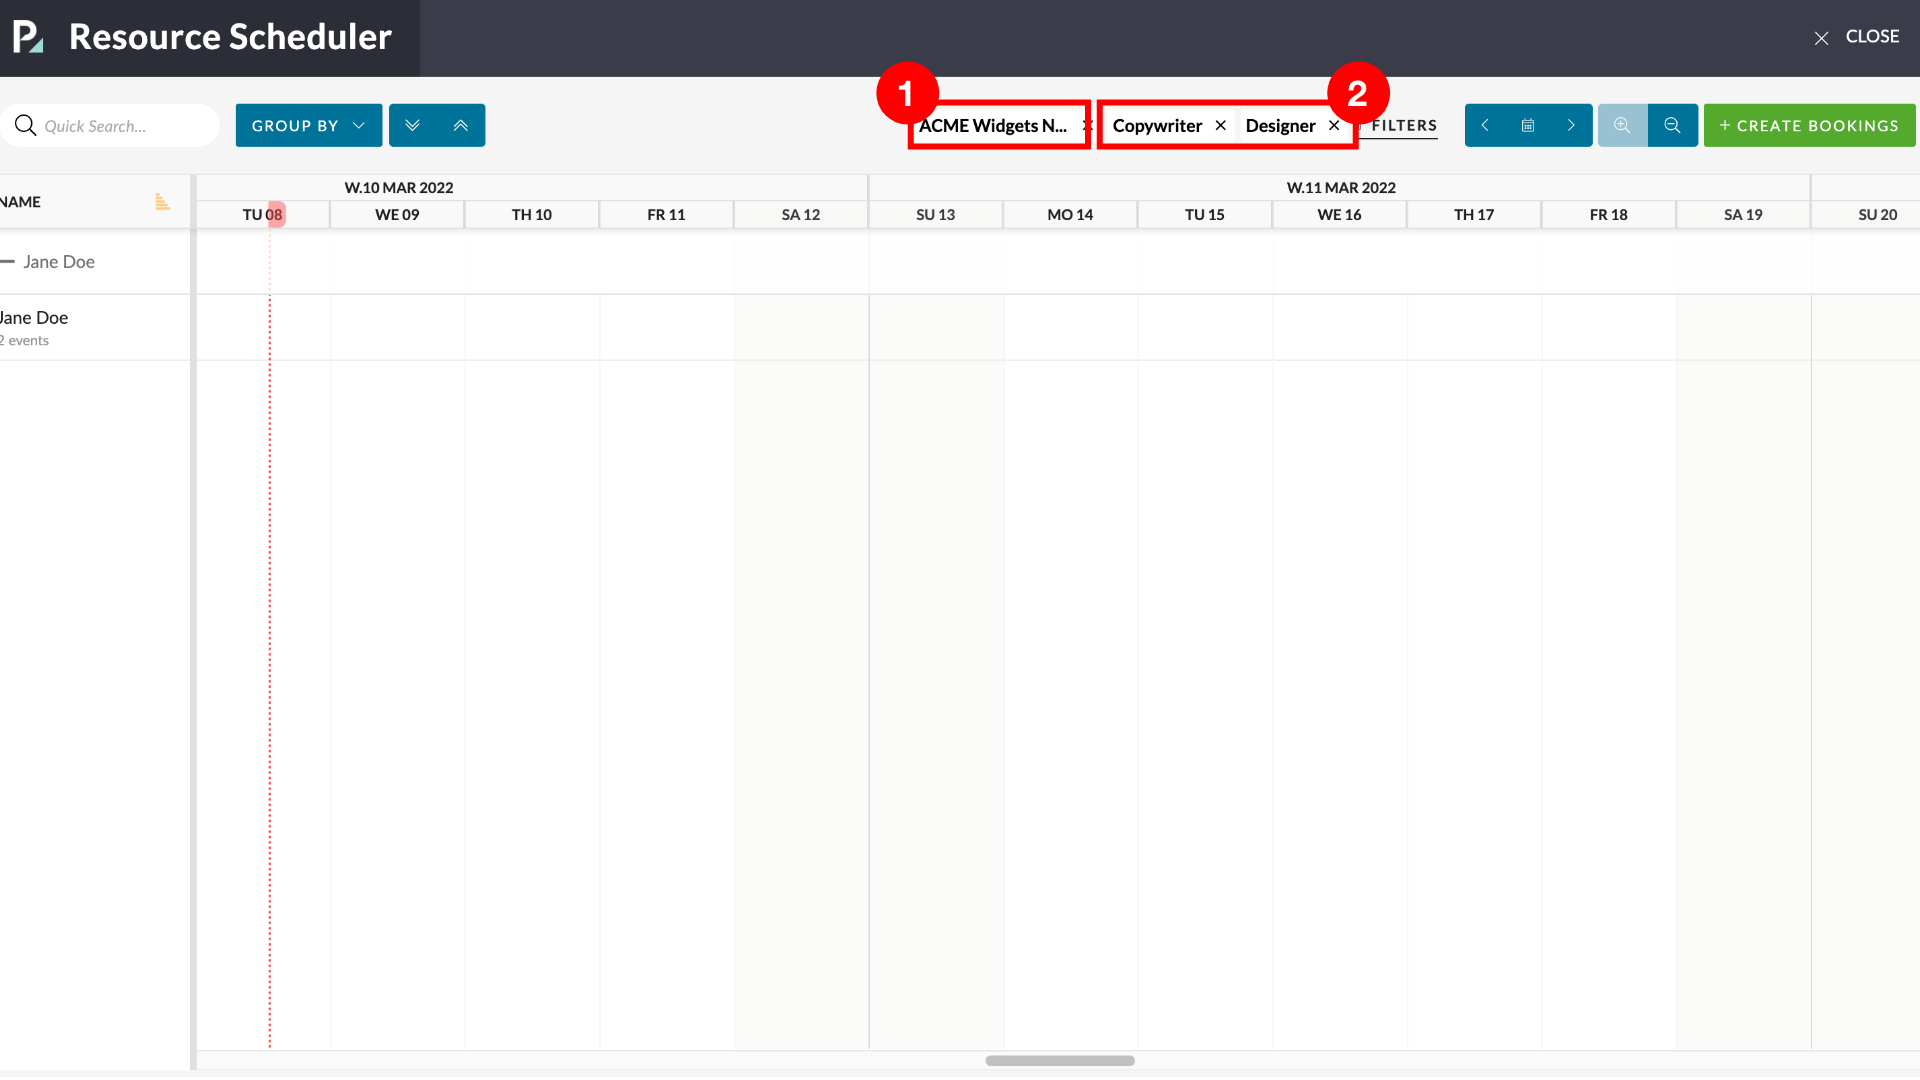
Or, you can combine filtering across different domains (like Projects, Status, Offices etc) – for example, if you wanted to find Copywriters and Designers who are already Assigned to a particular Project you can add that Project to the search terms.
Each Term will be listed next to the filters.
Removing Filter Tersm and Reseting Filters
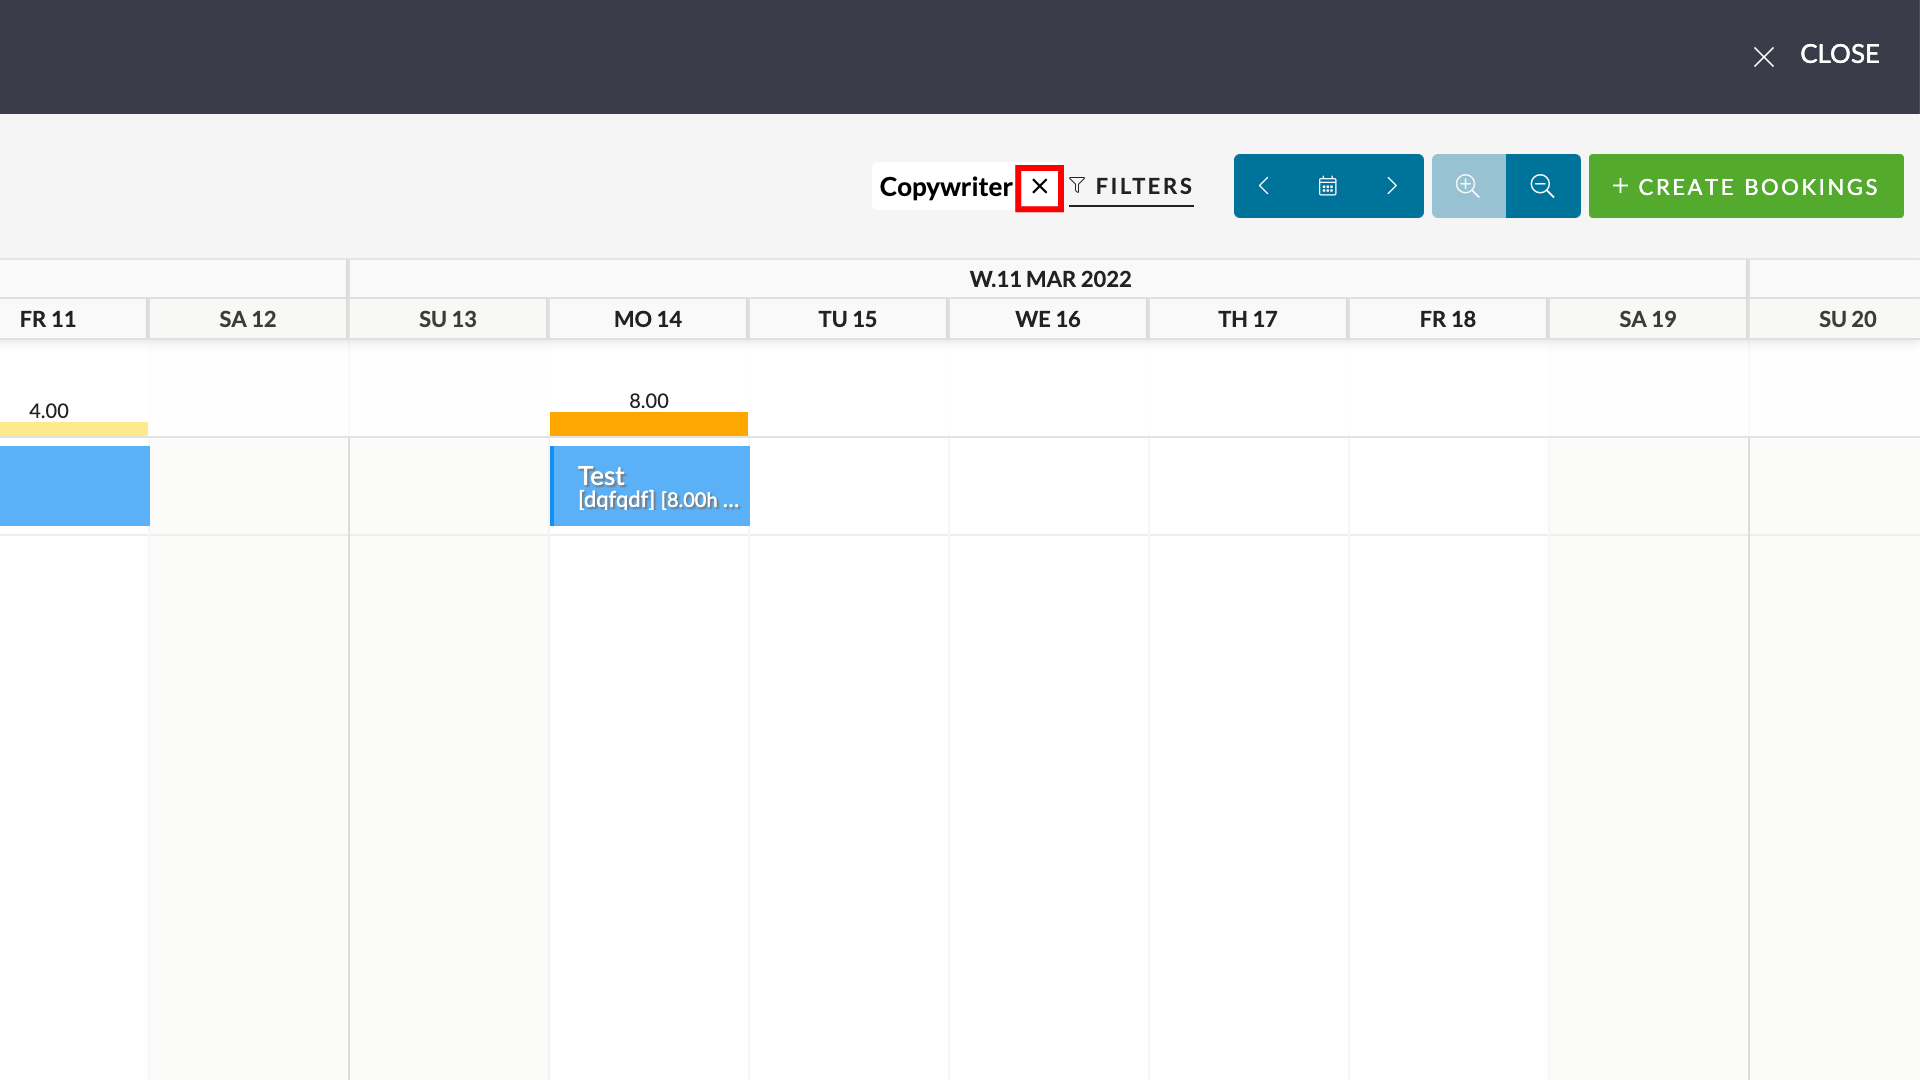
To remove a single filter term click the ‘x’ next to the term.
To remove all filters applied you can open the FIlters flyover panel and click “Reset Filters” beneath the “Apply filters” button.
