When you first start using Pulse, the system does not know what Projects you have been working on. So it is normal if your Timesheet is Empty.
After you have added time to your Projects, your timesheet will remember any Projects you have been working on in the previous week and automatically load them into the next week.
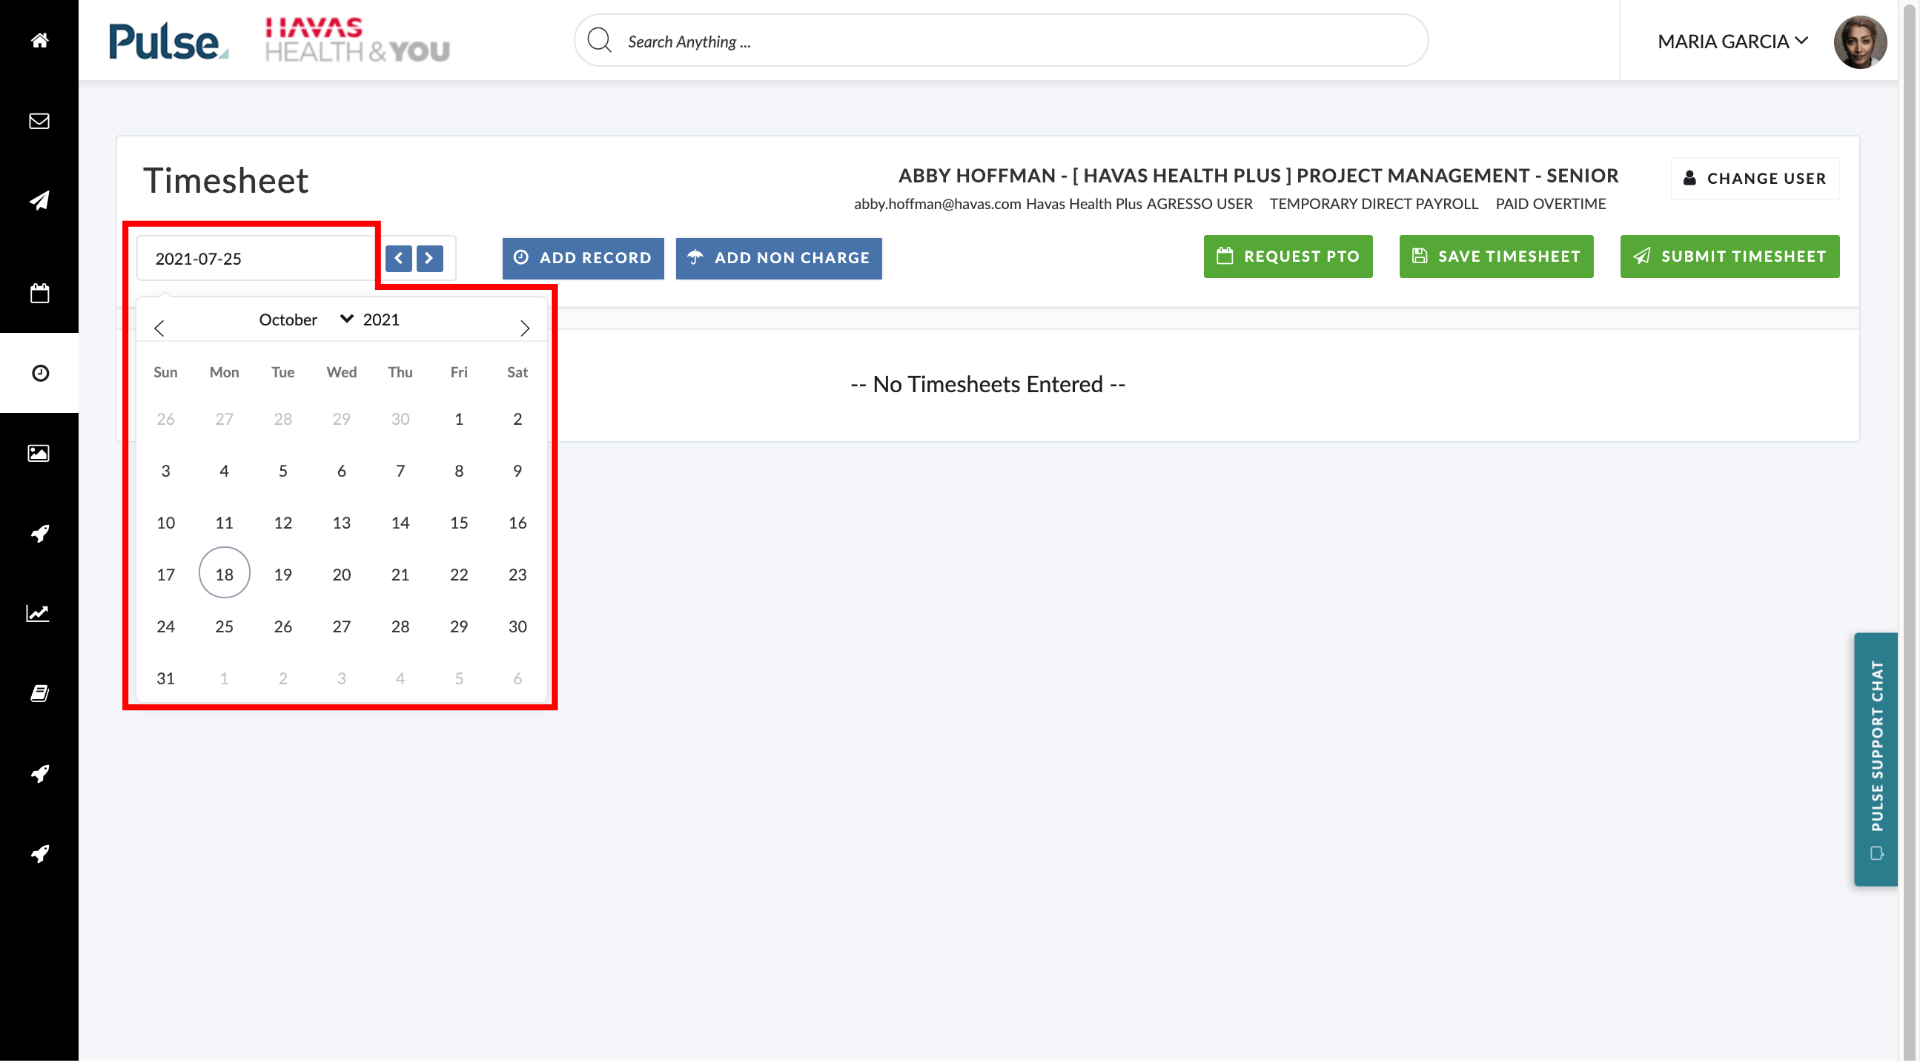
Date Selection
The Timesheet page shows you one week at a time. When you first open the Timesheet page it will open to the current week. You can use left-right arrows to move forward or backwards by one week from the date shown.
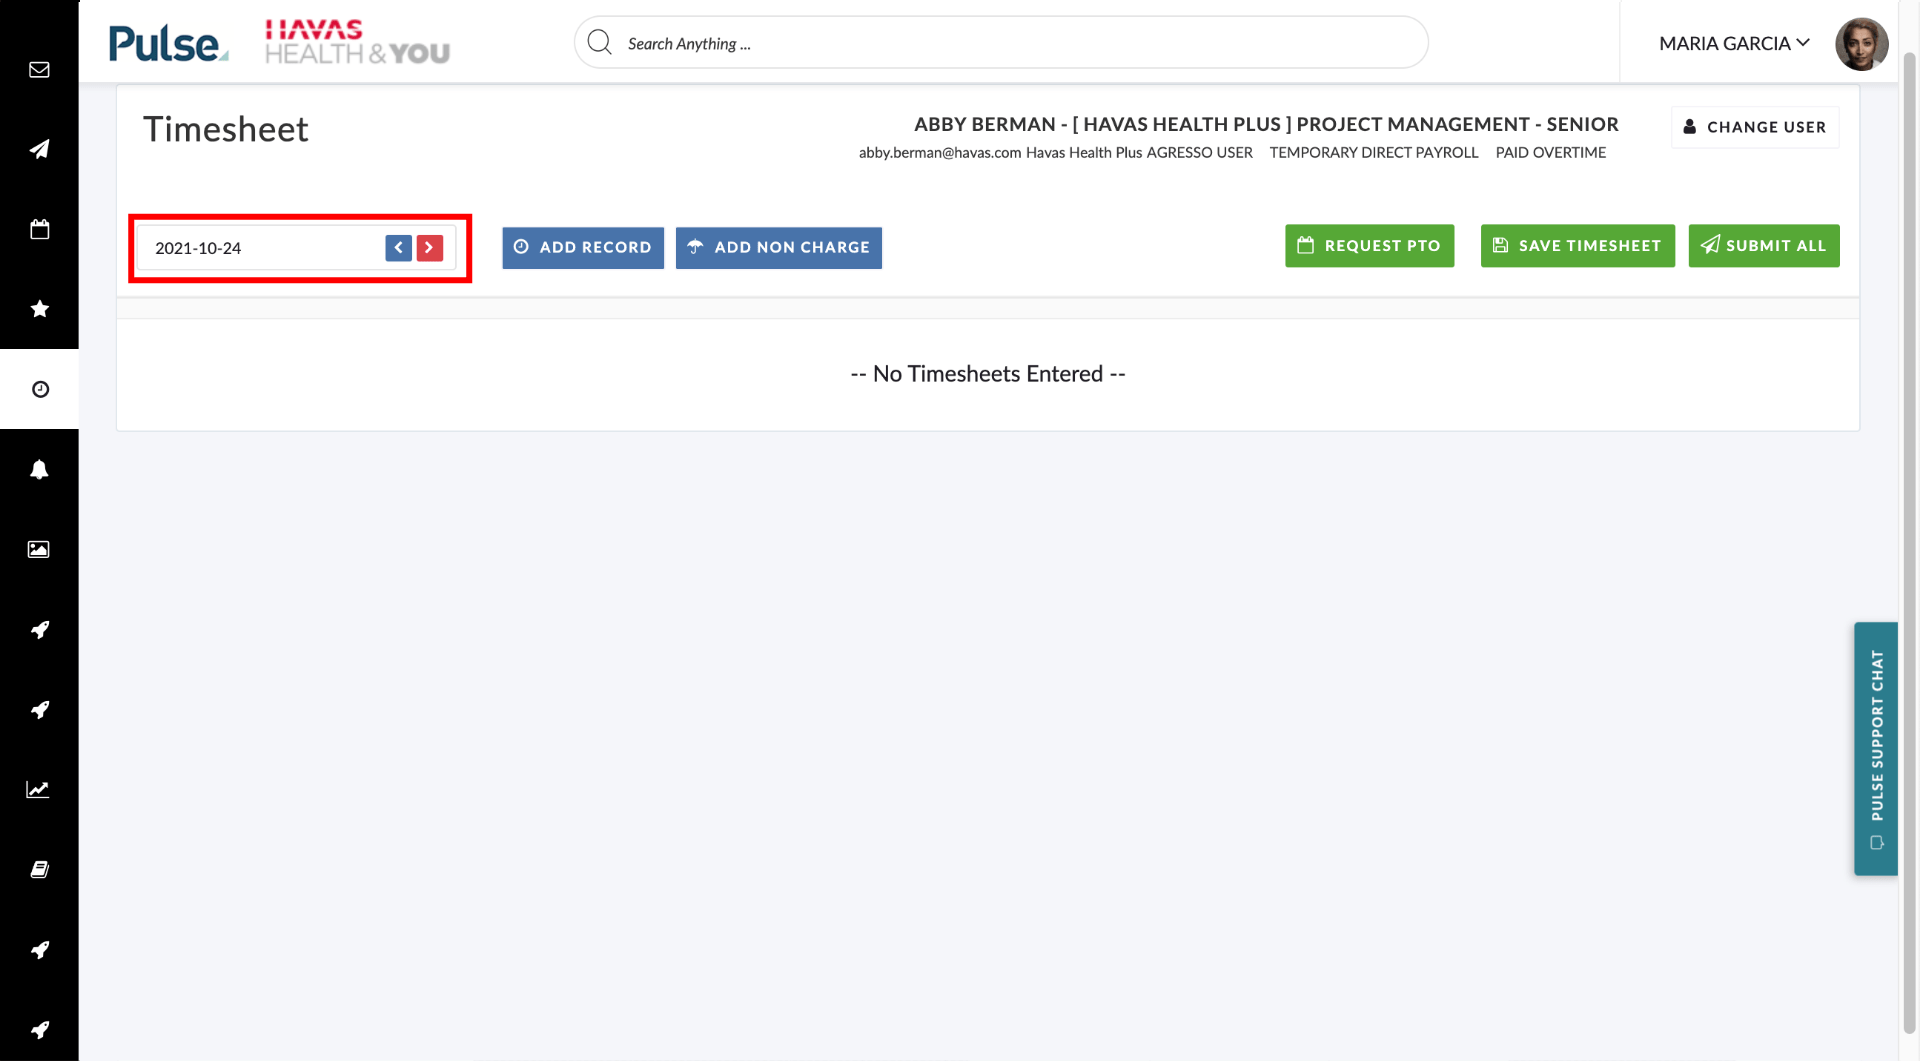
Alternatively, click on the Date shown and use the Date Selector widget to jump to a specific week.
Timesheet Actions
Pulse makes it quick and easy to submit your Timesheet, apply for PTO or Approve TImesheets by using the Timesheet Actions Buttons.
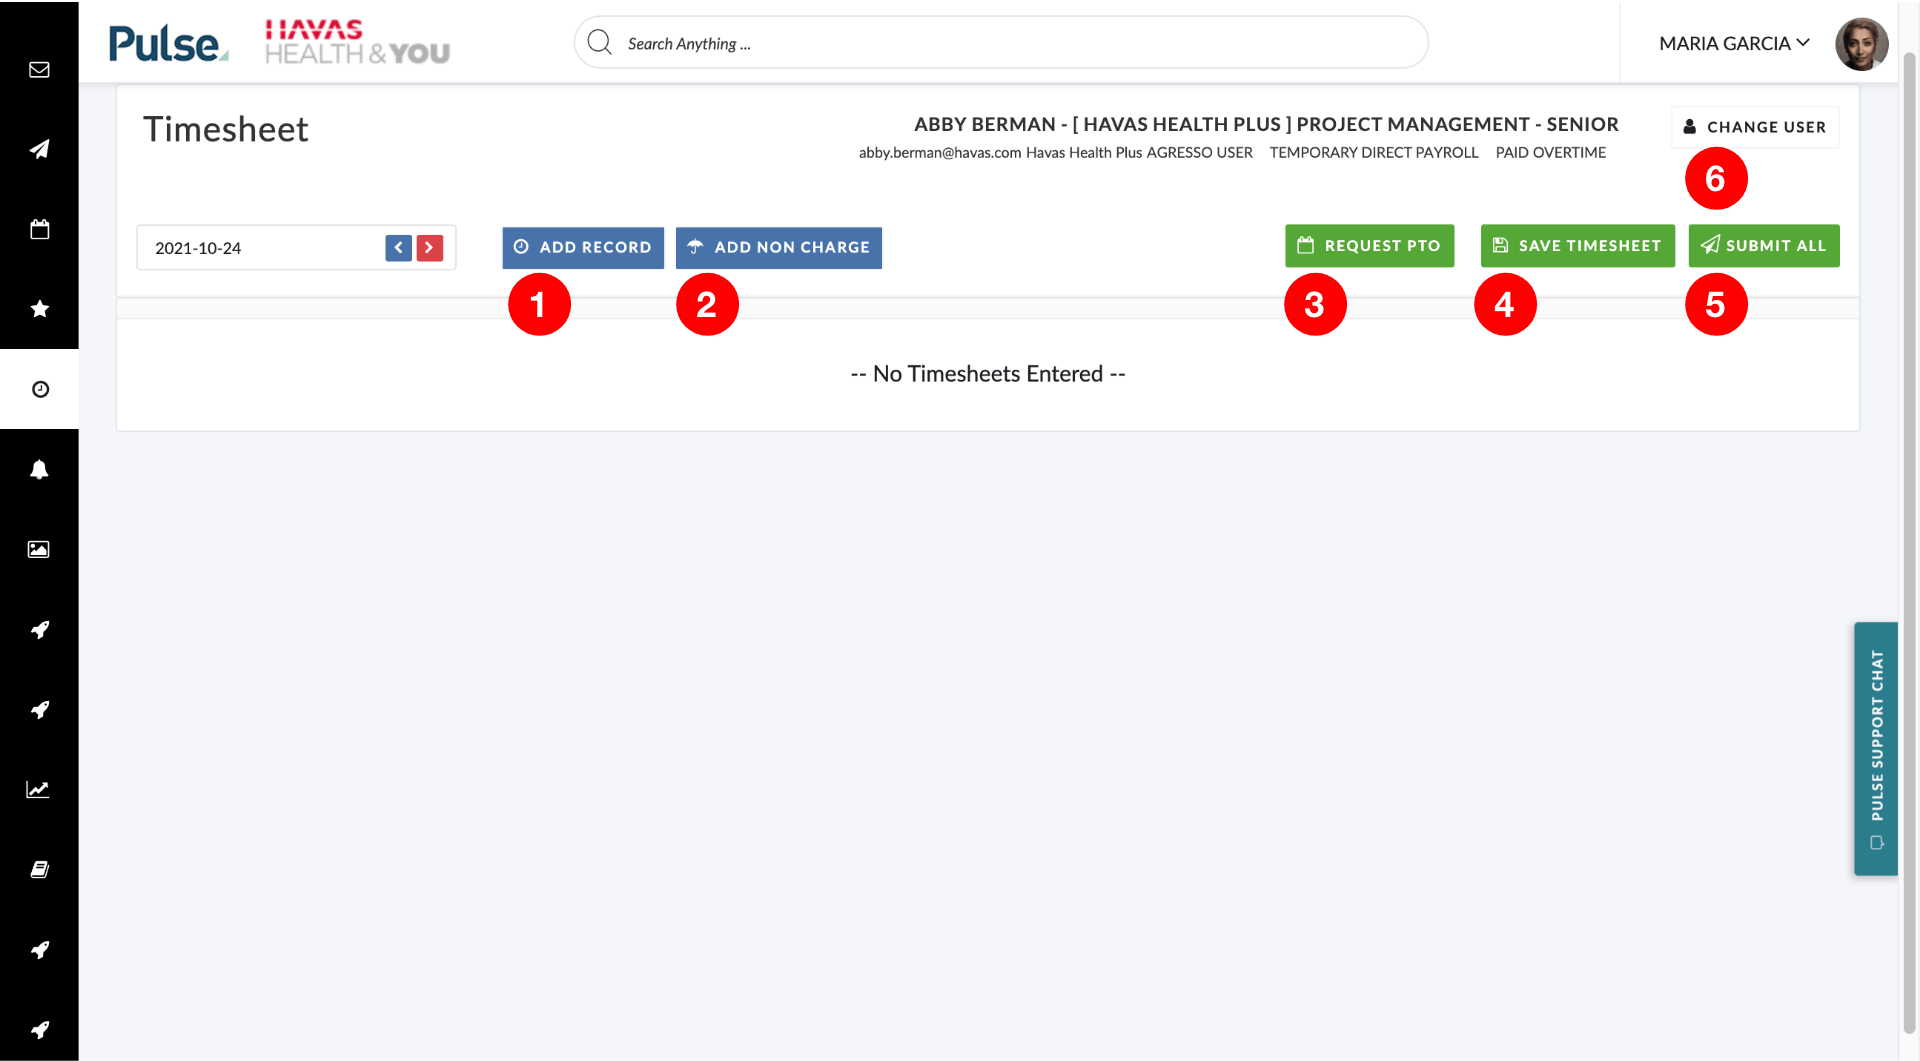
- To add billable job numbers select ADD RECORD
- To add non-billable job numbers select ADD NON CHARGE
- To request paid time off press REQUEST PTO
- To save your timesheet record (but not submit ) press SAVE
- To submit your timesheets, press SUBMIT
- If you are a Timesheet Supervisor click CHANGE USER to view the timesheets of a user you supervise
Resource Bookings and Timesheets
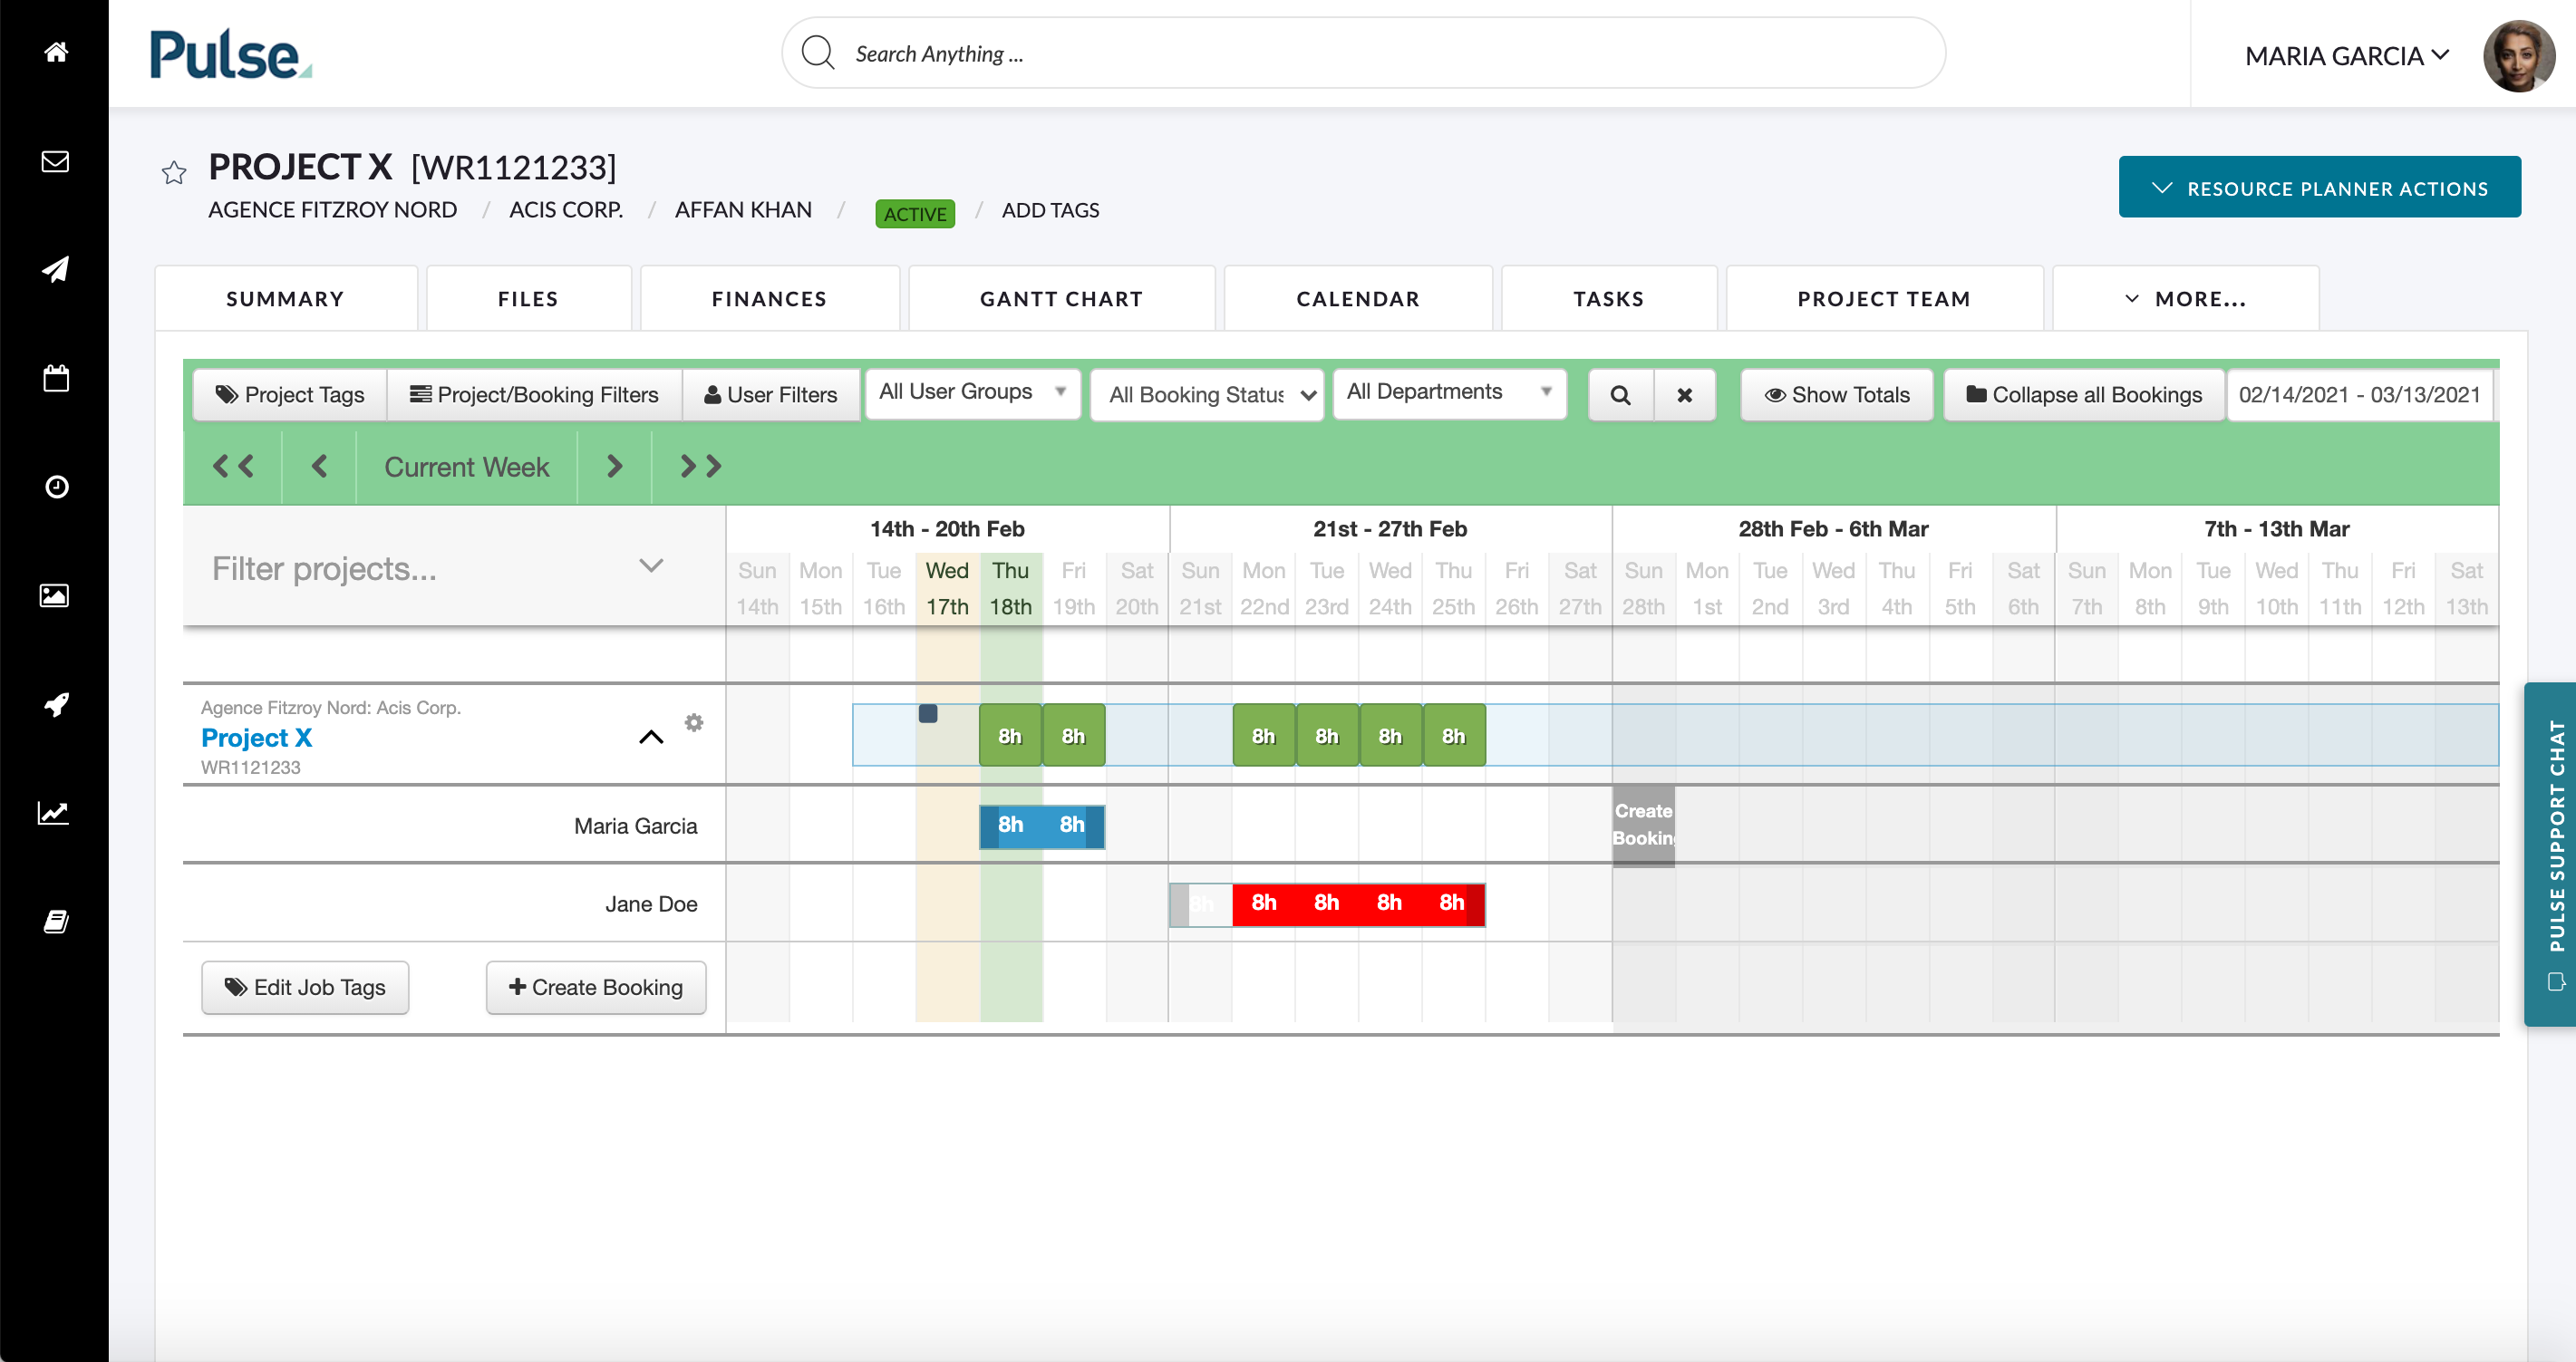
If your office is using the Pulse Resource Planner, you will find that Projects are automatically added to your Timesheet, with a suggestion of how much time was booked for each day.
When hours are booked via the Resource Planner they will appear beneath the time entry and notes fields for each day that has been booked.
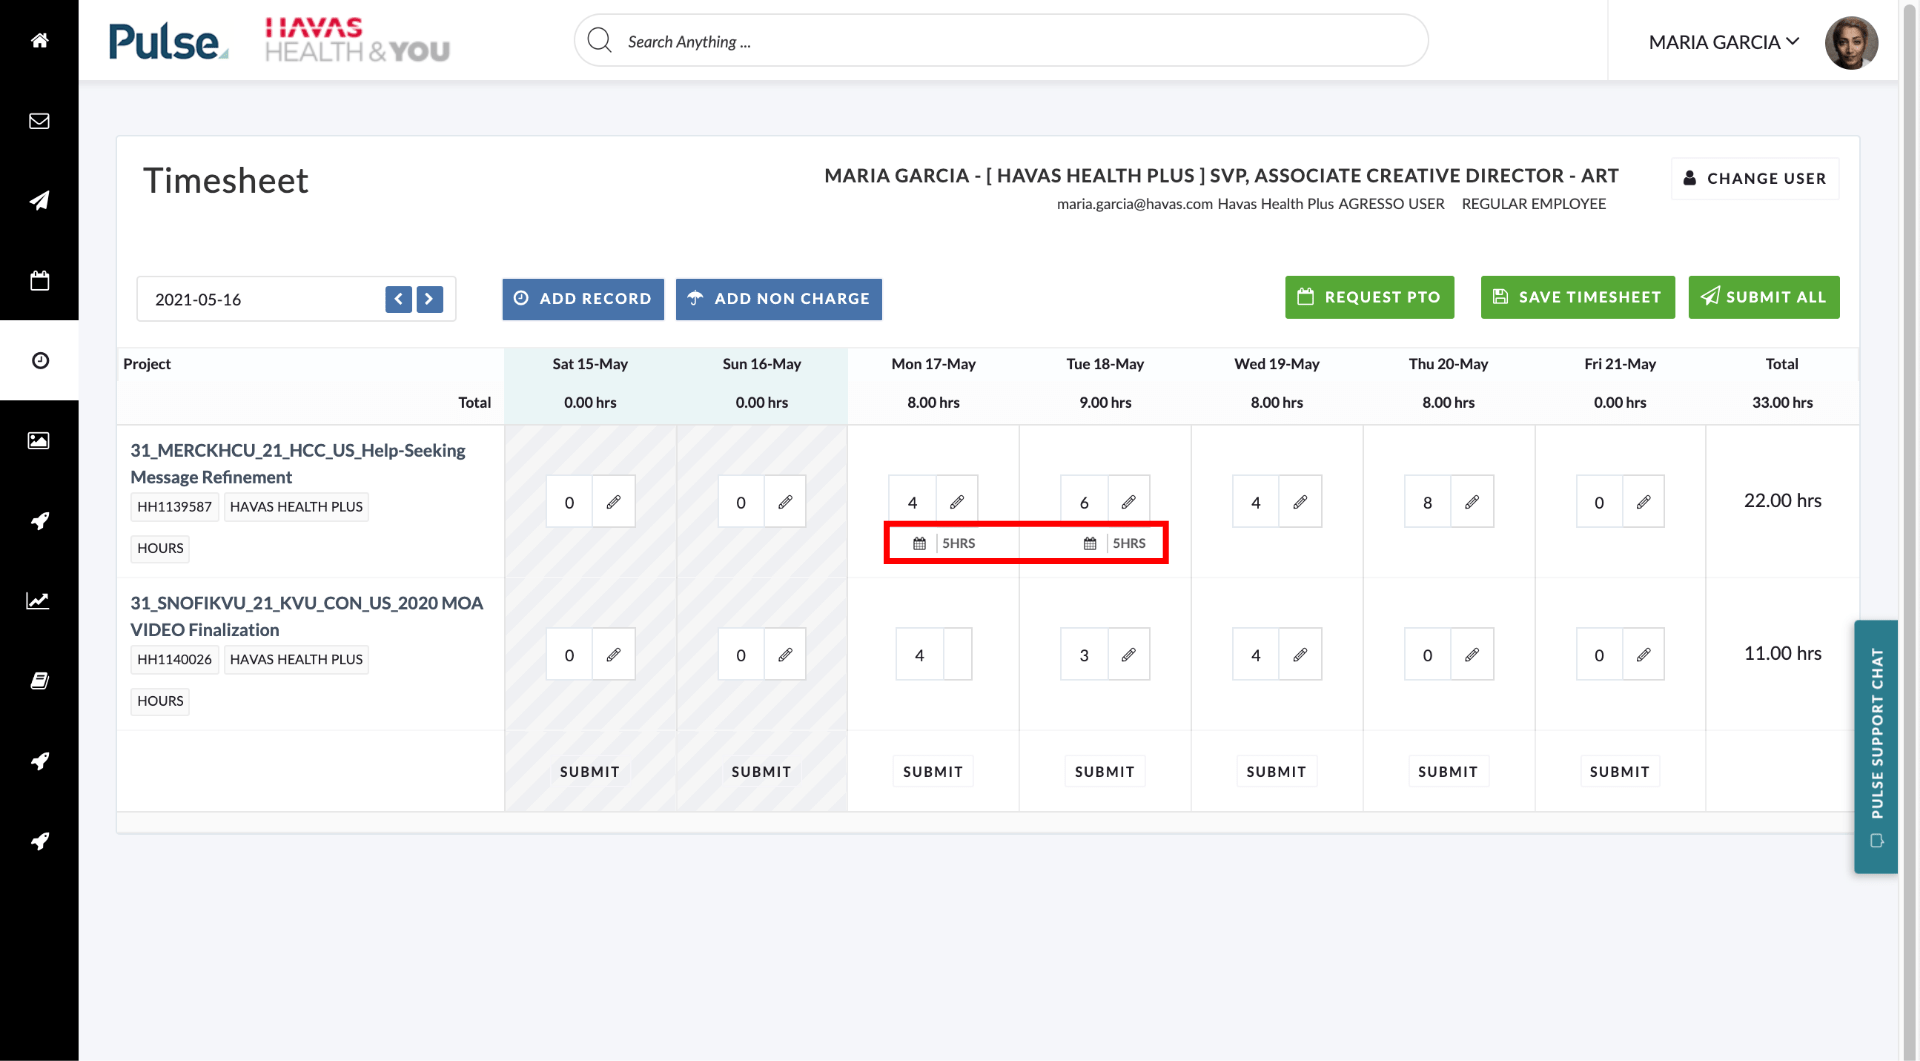
You can choose to follow the suggestion and added the booked time, or you can ignore the suggestion and add times that more accurately reflect the time you spent on Projects
.
To add the Projects you have been working on to the Timesheet simply follow the steps outline in the next page.